#Industry News
How to check the quality of a Force Gauge yourself
Quality check
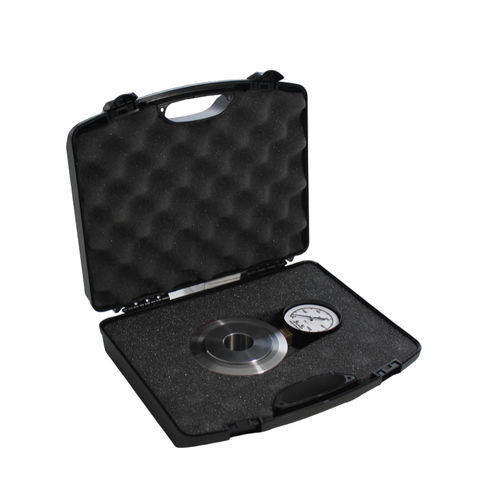
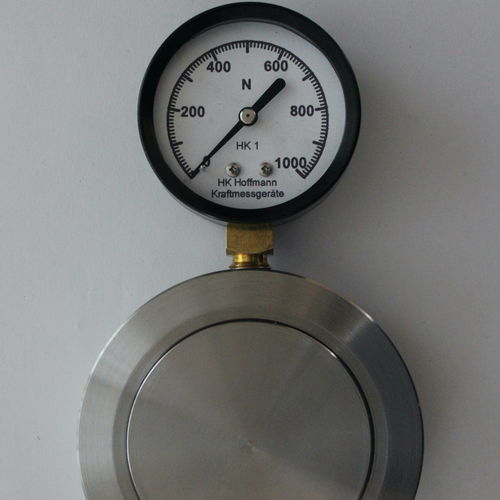
Hydraulic force measuring devices work according to the simple principle of surface pressure. An applied force acts on a cylinder and creates pressure inside. This pressure is displayed by a pressure gauge with a display in kilonewtons. How exactly a hydraulic force gauge works can be checked using simple weights that are placed on the force gauge. However, the weights should be weighed to the nearest gram. Otherwise the measurement inaccuracy will be too high due to the weights. In our latitudes (Europe) the conversion factor is 9.81.
This means that with a weight of 10.194 kg a force of 100N should be displayed. With an accuracy of 0.9% (based on the final value with a display up to 1000N), the permissible deviation is 9N. The minimum value is therefore 91N. The maximum value 109N. Weights can be used to check whether the display is e.g. still works exactly after a fall or a long period of lying. For variants with a large measuring range (e.g. 10KN), the entire measuring range cannot be checked in this way, as a weight of more than one ton would be necessary, e.g. 10,000N force must be applied, but the initial range can also be checked here. It should be possible to clearly identify or limit the tolerance based on the scale division, since in addition to the actual deviation of the measuring device, the deviation through estimation is also added. Due to the ring seals, the measuring devices may be sluggish. Therefore, before actually measuring or checking, always load twice with at least 80% of the maximum force. If the measurements serve your own purposes that are not relevant to high security, this check is sufficient in many cases. However, for purposes that are safety-relevant, calibration should be carried out at regular intervals by certified specialist personnel.


