#White Papers
How to Select the Right Mounted Point for Your Application
5 STEPS TO THE RIGHT ABRASIVE:
To achieve the results you want from deburring or edge-breaking, the key is to choose the most suitable mounted point for your application. These 5 steps can help you evaluate your application and select the best abrasive for your job.
Step 1: Select the Grain Type
At Rex-Cut, we suggest aluminum oxide for the majority of applications calling for mounted points. Aluminum oxide is a versatile grain and paired with our specialty bonds, it grinds exceptionally well on stainless steel, carbon steel, mild steel, aluminum, as well as certain alloys. For applications requiring high purity or brighter surface finish, such as medical implants or select aerospace components, silicon carbide, a sharper grain than aluminum oxide, may be preferable.
Zirconi alumina points are an excellent option for heavier stock removal.
Step 2: Choose the Right Bond
As a guideline for selecting the bond of the point, softer bonds work best on harder metals, and harder bonds on soft metals. Soft bonds such as our GFX, are able to shed easier, allowing fresh grain to be revealed for faster grinding. Harder bonds such as our MTX, hold on to the grain longer resulting in more controlled metal removal, in turn the point lasts longer.
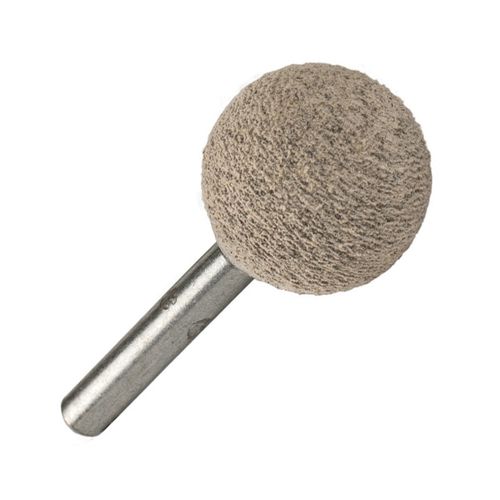
Within the last year we started making mounted points with a rubber bond. These rubber points are often used in edge breaking applications. Removing the edge on stainless steel sheet metal before fabrication is one specific application we see regularly. To see this in action, we have a video of our W222 points deburring sheet metal.
Tip: For aluminum, you will want to look for a non-loading bond. Because aluminum has a low melting temperature, it can load up the abrasive product you are working with. A naturally non-loading bond such as our GFX, JTX, and MTX, will work great on aluminum without needing compounds or waxes.
Step 3: Select your grit size
The amount of metal you need to remove will factor in when selecting grit size. The lower the grit number, the coarser the grain. For faster stock removal, select a coarse grit. For light deburring, edge-breaking, or blending, a finer grit will do the trick.
Step 3: Find the Perfect Shape
In a perfect situation you would have full access to the area you are working on, but often burrs and sharp edges are in hard to reach areas. Mounted points come in A, B, and W shapes to fit many different applications. There are small shapes to deburr tiny i.d.s, larger points such as the W222 which is often used in the edge breaking application we mentioned, and even specialty points such as the seat track cleaner which were designed to remove grime and corrosion on aircraft seat track. We do have a free Mounted Point Chart with RPMs available for download to help you find the shape you need.
Step 4: Check Maximum Operating Speed
Before running the mounted point, check to make sure the tool you are using does not exceed the maximum operating speed of the point. This is an important safety step. In addition, operating at too high of a speed can reduce the life of your point and decrease the quality of the deburring job.
Step 5: Trial and Error
After you go through the steps of selecting a mounted point, test it. If it is not giving you the results you want, make notes of what isn't working. If you are getting a surface finish that is too rough, go with a finer grit. If the point is taking off too much metal, go with a harder bond. Sometimes it takes more than one try to find the right mounted point.
Step 6: Contact Us with Your Application Details
If you have any doubts, send us your application information and we will work with you to find the best point for your job.