#Product Trends
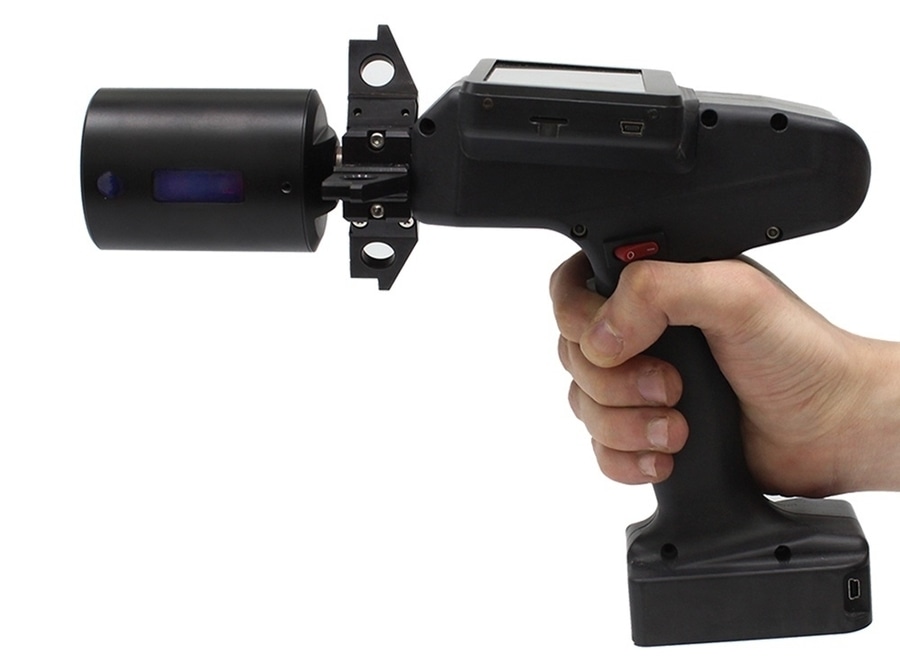
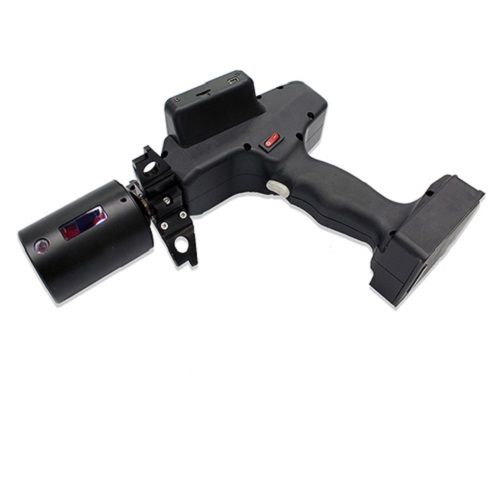
Handheld Inner Diameter Measuring Gauge
These projects continue our work in solving widespread ID measurement challenges.
Handheld Inner Diameter Measuring Gauge
These projects continue our work in solving widespread ID measurement challenges.
Operation of the device is based on the scanning of the tube inner surface by rotating laser head.
The gauge operates as follows: the operator inserts the laser head into the pipe and places the supports of the gauge at the pipe end. After pressing the Measurement button, the laser head begins rotating, the laser sensor scans the inner surface of the pipe, and the built-in controller receives the polar coordinates of the surface (the distance from the axis of rotation measured by the laser sensor and the corresponding rotation angle measured by the encoder). The controller calculates the required parameters (minimum, maximum and average diameters, roundness), displays them and shows the result OK / NOK in accordance with the specified tolerances. Measurement data can be accumulated in the gauge memory and transferred to the database on the PC.
The device has following parameters, which can be changed on request (minimum measurable diameter = 9 mm):
ID measurement range, mm: 100…250
Measurement accuracy, mm: ±0,05
Measurement depth, mm: 87
Measurement time, s: 2
Laser sensors quantity: 2


