#Industry News
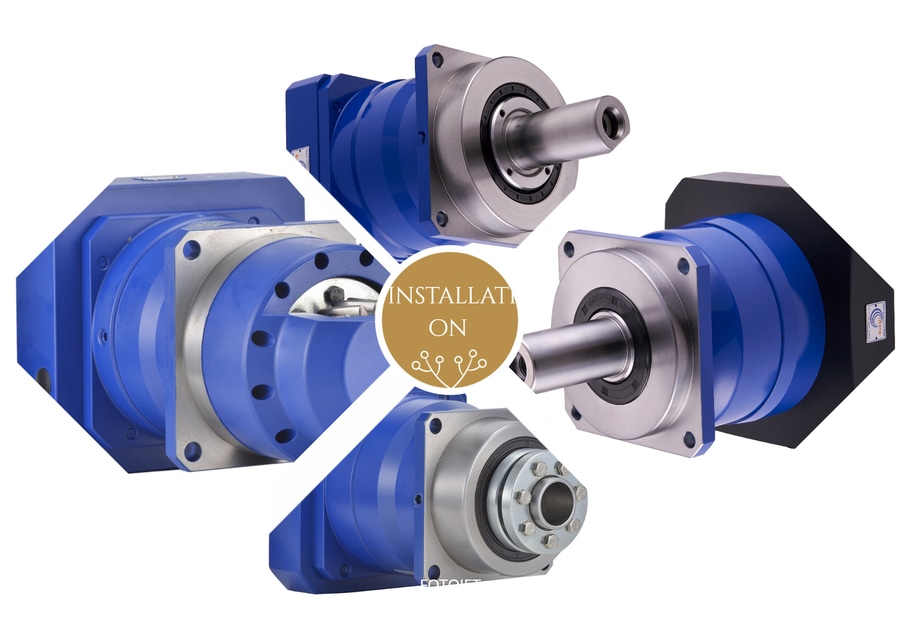
How to properly install our planetary gear reducers
If reducers are erratically installed or adjusted on servo motors in processing for a long period of time, there can be an acceleration of abrasion in bearings and a decrease of the service life for reducers.
Here are steps to install planetary gear reducers and precautions (universal to PG, HG, AG, PGR, HGR, AGR, HP and DG series).
1. All SunUs’s products are provided with our installation guide.
2. Refer to the installation guide when models not mentioned above and customization.
3. If your hexagonal wrench happens to be a round-head hexagon key wrench, grind the round head to the tapered-head one in avoidance of its failure to withstand the resistance.
1. Verify the compatibility of servo motors and series number of planetary gear reducers.
2. Remove hole plugs from the side of connection plate. Use a hexagonal wrench to unfasten the socket head screw.
3. Unplug the key in the output shaft.
4. Clean up the surface between the reducer and the servo motor.
5. Identify the size of the output shaft on the planetary gear reducers. Attach the bushing to the input shaft if necessary.
6. Connect the planetary gear reducer to the servo motor vertically (Do not horizontally connect them in prevention of the deviation of axes between the planetary gear reducer and the servo motor).
7. Use a hexagonal wrench to moderately tighten packing rings and socket head screws (5% TA is advisable).
8. Fasten hexagonal head bolts (to tighten the reducer and the servo motor).
9. Use the torque wrench to latch socket head screws (Refer to Table 1 for torque value. 100% TA is mandatory).
10. Plug the bushing to its original area.


