#Product Trends
QuellTech Practical Solution: Measurement of Aluminum/Steel Ingots before Scalping
Case Study: Replacement of manual measurement of Aluminum/Steel Ingots before Scalping
Initial Situation
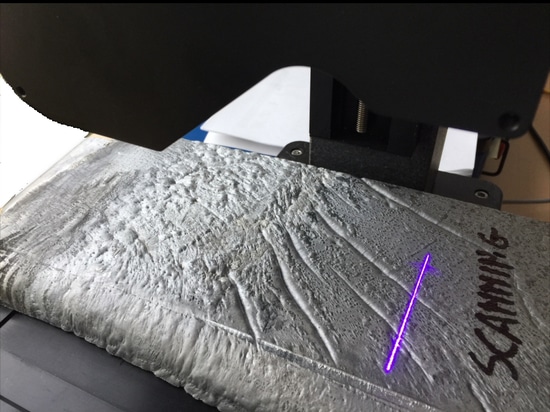
Our Client manufactures ingots made of aluminum or steel, which have to be scalped for an even surface. The method currently in use is measuring the deepest point on the raw surface manually, and adjusting the scalping height of the machine accordingly.
Particular Challenges
Manual measurement of the deepest point on the raw surface of the Ingot is not accurate enough. This attempt results either in cutting away too much material or in a surface with holes still present. These holes can only be eliminated by a repetition of the scalping procedure.
QuellTech Solution
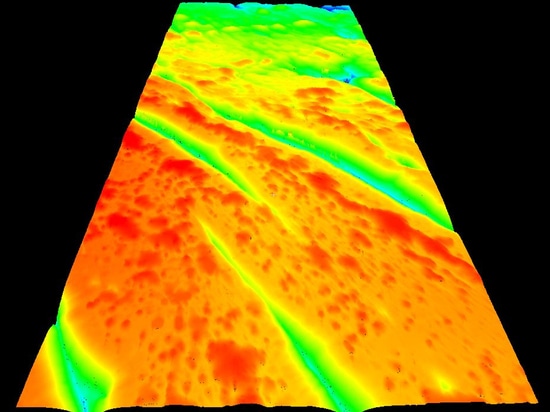
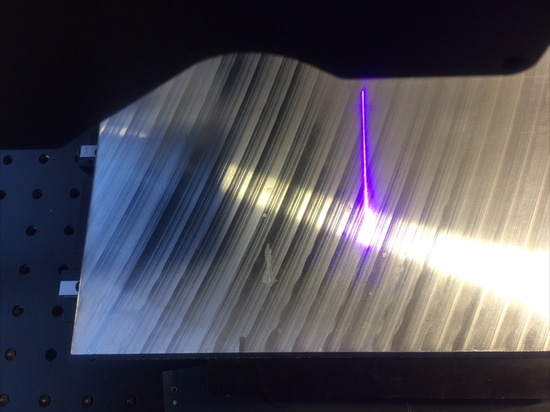
The performance of a manual inspection cannot be compared with the speed and the repeatability of a contactless QuellTech Q4-1000 laser scanner. It is even possible to install several instruments in parallel to cover the whole width of the ingot with one single scan. These instruments are mounted on an existing portal and correctly synchronized, so that interaction of the laser light originating from the other scanners is excluded. The QuellTech laser line scanners produce 3D point cloud of the raw ingot surface, and the software calculates the coordinates of the highest and deepest levels of this surface. After scalping the flat surface can be scanned again for any defects.
Benefits for the Client
Thanks to QuellTech’s wide area laser line scanners, the cycle times for ingot scalping could considerably be reduced, and excessive material scrap due to a too low scalping level is prevented.
Contact:
QuellTech GmbH
Stefan Ringwald
Phone: +498912472375
Email: sringwald@quelltech.de
www.quelltech.de


