#Industry News
Detailed Steps For Soldering Wires
How to Solder Wires: A Step-by-Step Guide
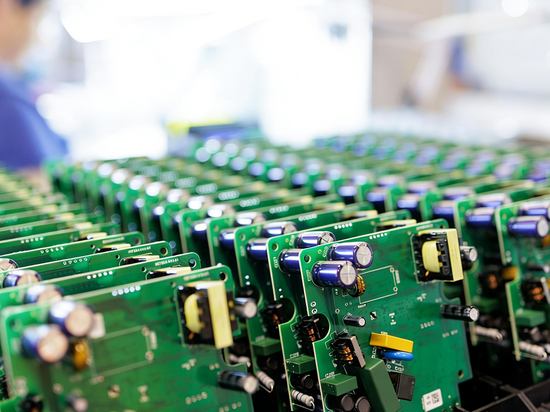
Soldering wires is a common process in electronics assembly and PCBA subcontract manufacturing, especially for electrical devices that require the connection of different components. Precise and safe soldering is crucial. This article outlines the steps for soldering wires to ensure solid and safe connections, ultimately improving the overall quality of the product.
Step 1: Preparation
Soldering Iron: Choose a soldering iron with appropriate power. A power too low may cause difficulty in soldering, while too high can damage the wires or the PCB.
Solder: Use an alloy solder suitable for electrical soldering, commonly lead-tin alloy or lead-free solder.
Wire Stripping Tool: Used to remove the insulation from the wire and expose the metal conductor.
Flux: Helps the solder to flow and reduces oxidation.
Solder Wick or Desoldering Pump: Used to clean excess solder and prevent short circuits.
Step 2: Prepare The Wires
Strip the Wire's Insulation: Use the wire stripping tool to remove the insulation from both ends of the wire. Typically, strip 2-3 mm, but adjust as needed.
Handle Bare Copper Wires: The exposed copper wire should be slightly bent so that it can be securely attached to the pad or other electrical components. Be careful not to overbend or damage the copper wire.
Step 3: Preheat The Soldering Iron
Before starting to solder, heat the soldering iron to the appropriate temperature (usually 350°C). Ensure the tip of the soldering iron is clean, and you can wipe it gently with a damp cloth or wire brush.
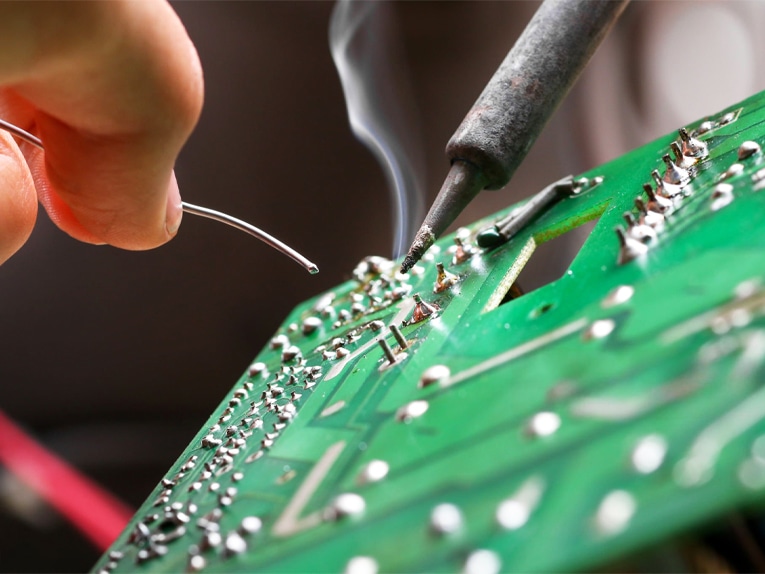
Step 4: Heat The Soldering Point
Position the Wire: Place the wire on the pad or terminal where it needs to be soldered. Keep the wire and the soldering point stable and avoid movement.
Heat the Soldering Point: Gently touch the tip of the soldering iron to the soldering point and heat for 1-2 seconds to ensure the temperature is high enough to melt the solder.
Step 5: Add Solder
Once the wire and soldering point reach the appropriate temperature, immediately feed the solder wire into the joint. The solder should flow smoothly and form a uniform solder joint. Ensure the solder completely covers the connection area, but avoid excessive solder to prevent short circuits or poor connections.
Step 6: Cool And Inspect The Solder Joint
After soldering, remove the soldering iron and allow the solder joint to cool. The cooled solder should appear shiny and silver. If the color is dark or cracks appear, the solder joint may be poor and require rework.
Step 7: Clean The Soldering Area
After soldering, clean the area to remove excess flux and solder. Use the desoldering pump to remove extra solder and ensure the joint is smooth and clean without affecting the electrical performance.
Step 8: Inspect The Soldering Quality
Check each solder joint to ensure it is firm and free from cold solder joints. You can use a multimeter to test if the circuit is conducting properly and visually inspect the joints to ensure there are no short circuits or cold solder connections.
Notes:
Avoid Overheating: Prolonged high-temperature heating can damage the wire's insulation and even cause component damage.
Use the Right Amount of Solder: Excess solder can lead to short circuits, while too little may cause weak joints.
Keep Soldering Tools Clean: Regularly clean the tip of the soldering iron to maintain good thermal conductivity.
Soldering wires, while a fundamental skill in electronics assembly, directly impacts the stability and safety of the product. In TECOO's PCBA subcontract manufacturing process, soldering quality is key to ensuring reliable electrical connections and the long-term operation of equipment. We always put the customer first, ensuring that every soldering process meets the high-quality standards required by our clients.