#White Papers
Surface roughness and surface flatness measurement for quality control
Comprehensive topography analysis with large field of view (FoV) examining form deviation and roughness
<< Comprehensive surface topography of both surface flatness and roughness without contact with TopMap from Polytec >>
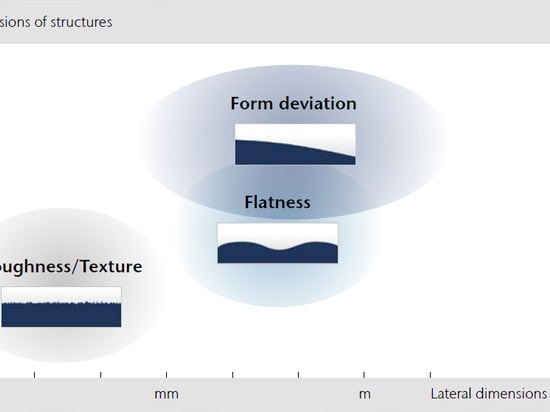
Conventional machining processes generate three main components of surface topography, which are classified according to their causes. The first component is “roughness and irregularities”, that are inherent in production processes, left by machining (e.g. cutting tool, spark) as a result of the built of edge formation and tool tip irregularities. Second component is the waviness which results from deflections (machine or work), vibrations, unbalanced grinding wheels, irregularities in the tool feed, chatter or extraneous influences. The third component of the surface, which is left after eliminating roughness and waviness, is defined as its form.
Roughness measurement requires detailed information in lateral and vertical dimensions and is a popular application in surface metrology as it is crucial for both functionality and finish of a workpiece. A common method to measure surface roughness is still the stylus or contact-based surface measurement instruments. Here, challenges arise due to the mechanical contact with the sample, as surface or instrument damage and thus influence on the measurement result may occur. Many applications, where tactile techniques may show shortcomings e.g. risk of contamination, recessed surfaces or complex structures, benefit from non-contact optical measuring instruments. And due to emerging possibilities of optical surface metrology tools, there has been a trend to measure as many parameters as possible with a single measurement system.
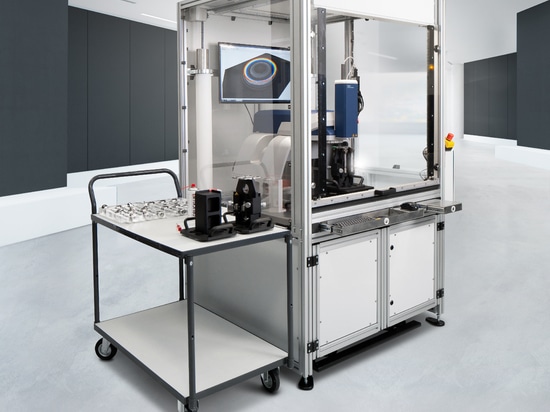
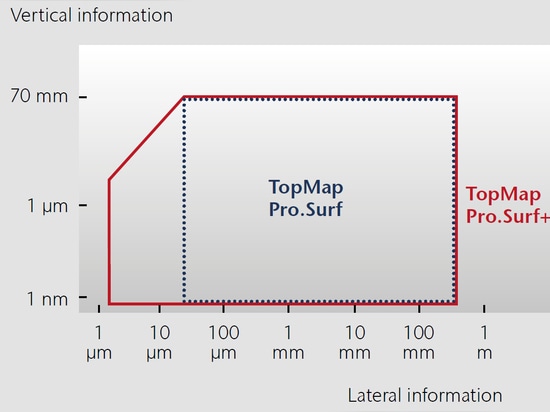
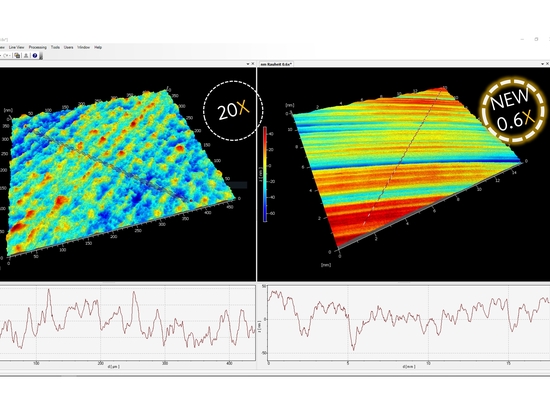
White-light interferometers like the TopMap series from Polytec characterize large-area surfaces without contact. A single measurement without stitching gathers a field of view of 30 mm x 40 mm with a vertical range of 70 mm. One of the strengths of white light interferometry is the very high vertical resolution being independent from the objective magnification. This allows to resolve even large surfaces with a very high resolution in a very short time. In a multi-sensor concept, the TopMap Pro.Surf+ surface metrology sytems also features a chromatic confocal probing allowing both the measurement of flatness and roughness. Surface data is acquired by scanning the point sensor with the help of a laterally translated stage just like with tactile methods. Such a configuration allows for tracing complex shapes even circular profiles. The chromatic-confocal sensor then evaluates roughness on a defined line across the large surface area allowing to analyze a representative cross section of the measured surface.
